Forms can capture any information you like, from the basics such as name, email address, phone number, address, right up to more advanced information.
If you chose one of our Starter Sites, you'll already have a number of forms on your site, ready to go.
The first step in using your forms is to decide whether you're going to use a third party email service such as Mailchimp, aWeber, GetResponse, Active Campaign, Ontraport, Infusionsoft, Mad Mimi to store your visitors' information (paid options), or just have Heroic email you whenever someone fills out one of your forms (free option).
Here's a list of the 3rd party mail services we support.
Assuming that you've made your choice, and have your account set up (in the case of a 3rd party email service), then let's proceed...
Connecting your form
- Click the Setup icon that you'll see on your form's submit button

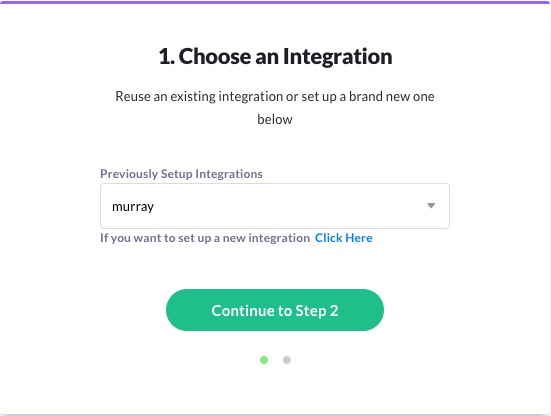
- Choose a previously-setup integration and then click Continue to Step 2 ... or click "Click Here" to set up a new Integration.
- If you choose to set up a new integration, then choose the kind of integration you want to set up and enter the required details, and then click Continue to Step 2
- The final step in setting up your form is telling us what happens after the form is submitted. Simply scroll down the list of pages until you find the page you want to use as your thankyou/confirmation page. (Alert, as of right now, it's a little dificult to access all pages in the drop list. If you find you can't see all the pages that should be visible, use the scrollbar on the far right side of the box and move it downward -- the rest of the pages should slide into view.)