
60-second intro to images
Adding an image to a page
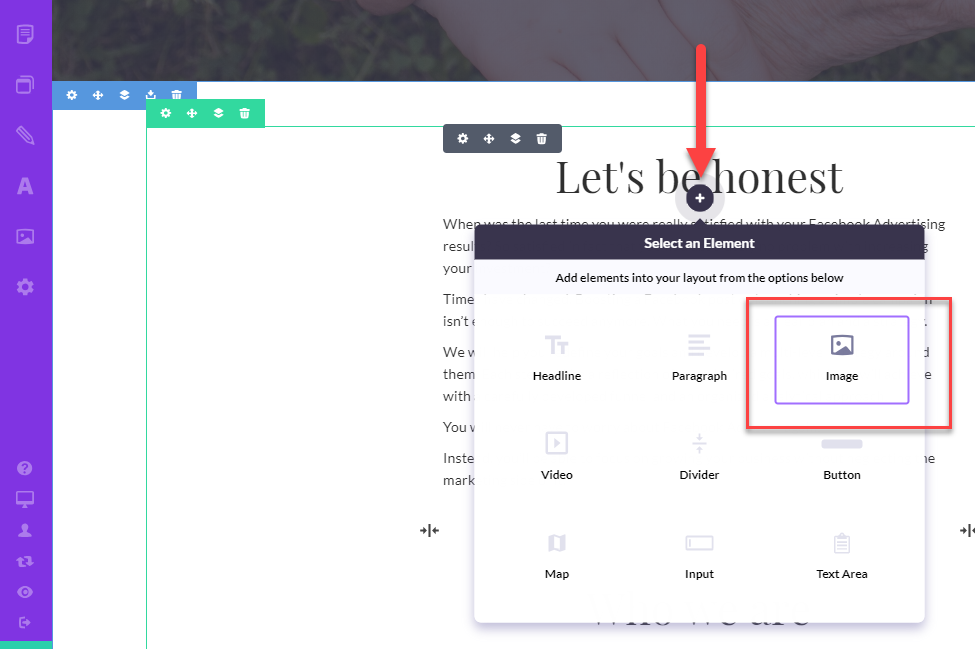
To add an Image:
- Click anywhere in the Section to activate it for editing
- Hover your mouse where you wish to put your new element, and watch for the [icon-element-add] icon to appear
- Click the
 icon to reveal the Elements menu
- Click the Image option in the Elements menu.
- A placeholder image will be inserted and the Images & Media popup will open.
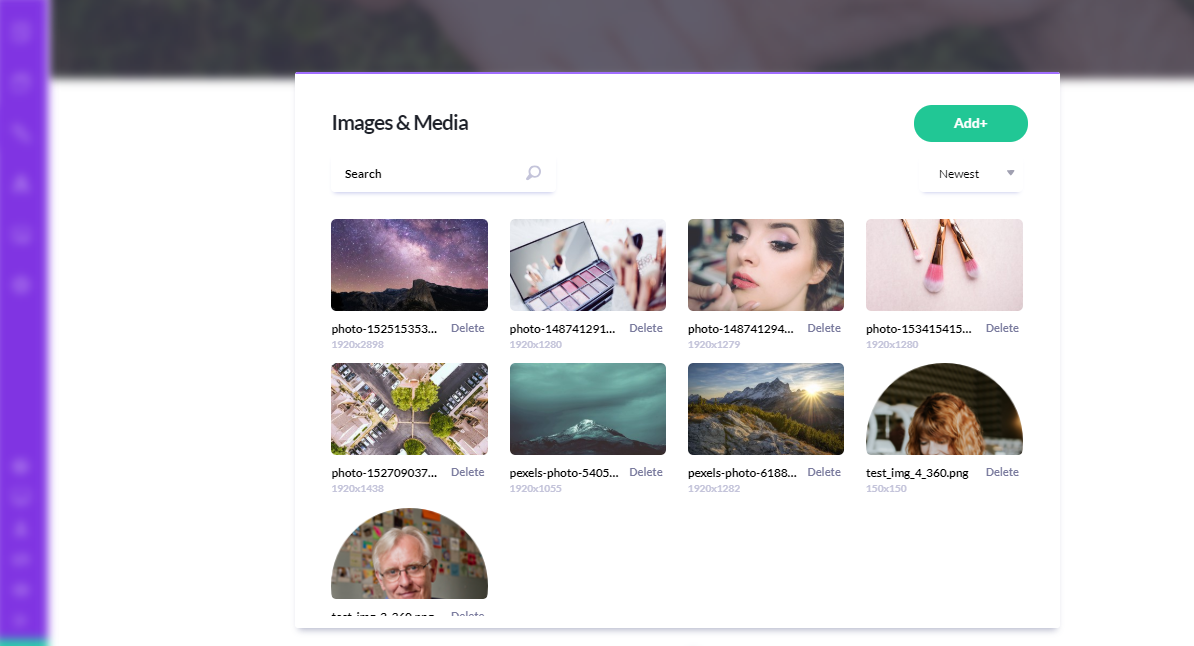
In the Images & Media popup, you can:
- select a previously uploaded image
- upload a new image (up to 8mb file size) by clicking the
 button, or search for a free or premium image
To add the image to your section, click on it and it will drop in.
Adjusting Image Width
To adjust the width of your new image:
- Hover over the image you want to adjust, and a toolbar will appear
- Click Setup on the toolbar to open the Image panel on the left
- Click the Design tab in the Image panel
- Under Sizing, drag the slider to adjust the Image's Width
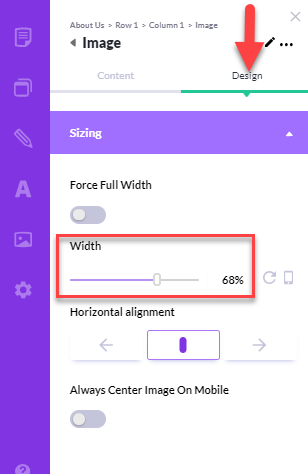
Image Sizing Pro Tip
When selecting images, you'll find the image size directly below its file name in the Image & Media popup.
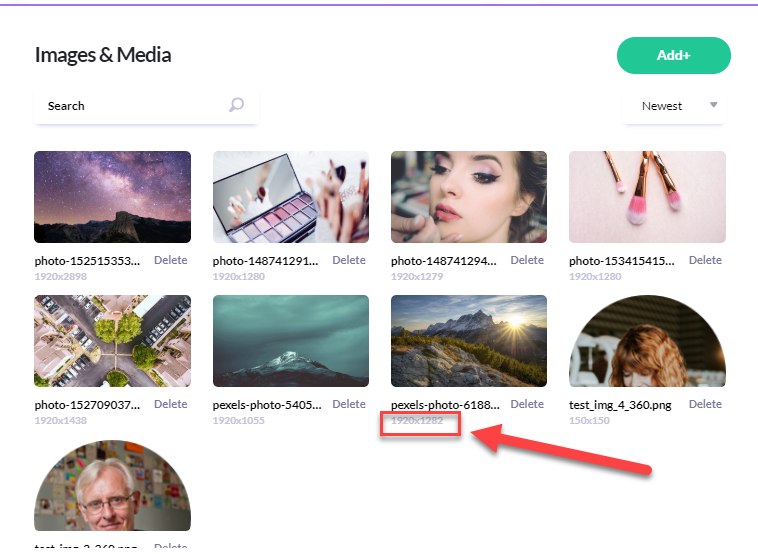
For best results, we recommend these image sizes to help you avoid the mistakes you see on some sites -- for example, a banner picture that is too small or stretched to fit.
- Full-Width Banner: 1200-2000 pixels wide
- Main Column: 800 pixels wide
- Sidebar: 400 pixels wide
- 2 Pathways: 600 pixels wide
- 3 Pathways: 400 pixels wide
- 4 Pathways: 300 pixels wide